How to Use the Grid Method for Drawing
4 min read
The grid method is one of the oldest and most reliable ways to draw accurately. You divide your reference photo into squares, draw the same grid on your paper, then copy the contents of each small square one at a time. It trains your eye to see shapes instead of objects.
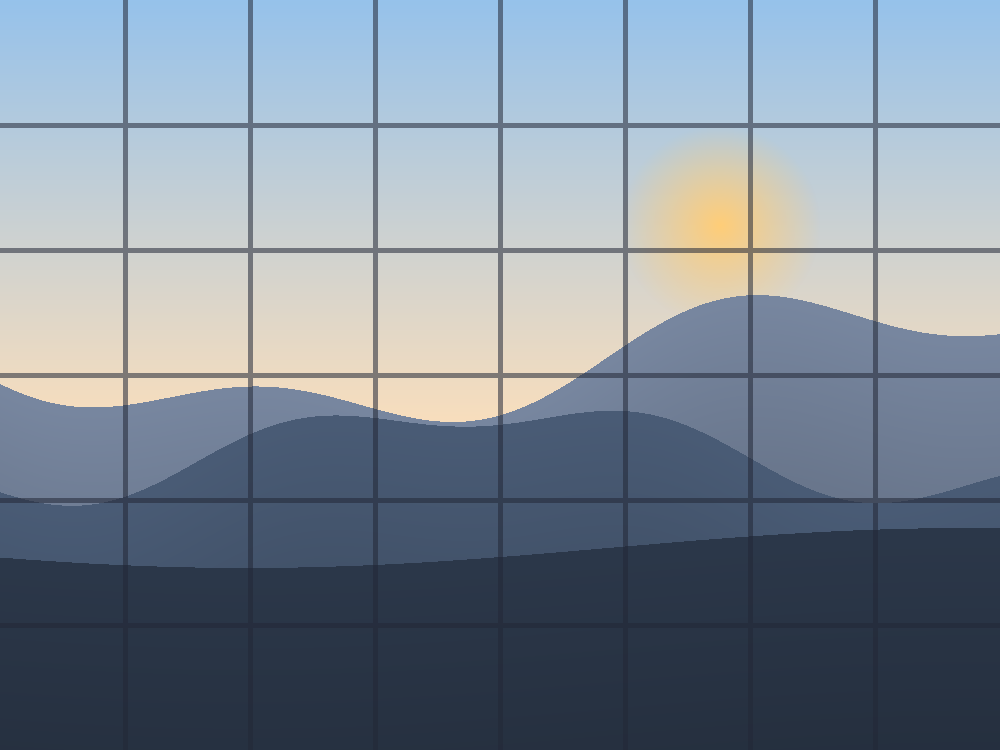
1. Add a grid to your reference
Upload your photo to the grid maker and choose how many columns and rows you want. A 1:1 square grid keeps proportions honest — most references work well with 8 to 12 columns.
Turn on the coordinate labels (A, B, C… across the top and 1, 2, 3… down the side) so you can always tell which square you are working on.
2. Draw a matching grid on your paper
Use the same number of columns and rows on your paper. The squares can be larger or smaller than the reference — that is exactly how you scale a drawing up or down.
Keep the cells square. If your reference grid is square and your paper grid is square, the proportions transfer perfectly.
Draw the grid lightly in pencil so you can erase it later, or print grid paper to trace over.
3. Copy one square at a time
Work square by square, not object by object. In each cell, look only at the lines and shapes inside that square and reproduce them in the matching square on your paper.
Start with the squares that contain clear edges or landmarks. The surrounding squares get easier once you have anchors in place.
4. Refine and remove the grid
Once the big shapes are blocked in, step back and check the drawing as a whole. Fix any square that looks off before adding detail.
When you are happy with the proportions, gently erase the grid lines and finish the drawing.
Is the grid method cheating?
No. Artists have used grids for centuries — it is a tool for studying proportion, not a shortcut around skill. Used regularly, it actually trains your eye to judge relationships without a grid over time.
Ready to try it?
Open the Grid Maker